Sealing Tiles For Long-Term Performance
A freshly tiled surface looks great on the day it is finished. What determines how it looks in five or ten years comes down largely to what happens in the first few days after installation. Tile sealing is one of those steps that is easy to overlook, particularly when a renovation is wrapping up and everyone is ready to move on, but skipping it has consequences that compound over time. A tile shop Darwin residents can visit or research online may help them understand why sealing matters and how to do it properly. It is genuinely useful knowledge before you commit to a product or a tiling project. This post covers the practical side of tile sealing, including when to seal, which type of sealer suits which surface, how to apply it correctly and what ongoing maintenance actually looks like.
Why Sealing Tiles Is Worth the Effort
Tiles are durable by nature, but porosity varies significantly between products, and even dense tiles typically have grout lines that absorb moisture, staining agents and biological matter readily. Without a sealer, grout around bathroom tiles can harbour mould within weeks. A kitchen splash zone without sealed grout will start showing discolouration from cooking residue and cleaning products within months. The tile surface itself, particularly natural stone and unglazed ceramic, is equally vulnerable.
Sealing addresses these vulnerabilities directly:
- Creates a barrier that repels moisture, oils and staining compounds before they penetrate the surface
- Slows the accumulation of mould and mildew in wet areas, reducing the frequency of deep cleaning required
- Protects grout from the mechanical wear caused by cleaning products and foot traffic
- Extends the overall lifespan of the tiled surface, preserving both the appearance and the structural integrity of the grout
Understanding the Difference Between Tile and Grout Sealers
Not all sealers are the same product, and applying the wrong type to a surface produces disappointing results. Tile sealers and grout sealers serve related but distinct purposes, and some products are formulated to handle both while others are specific to one substrate. Understanding what each does helps you select the right product for the job rather than guessing at the hardware store.
The key distinctions worth knowing:
- Tile sealers penetrate or coat the tile surface itself, providing protection against staining and moisture absorption
- Grout sealers are formulated specifically for the porous cement-based material used in grout lines, which absorbs liquid far more readily than most tiles
- Combination sealers can treat both surfaces in one application but are not always the best-performing option for each individually
- Some sealers are penetrating (absorbed into the material) while others are topical (forming a coating on the surface), and the correct choice depends on the tile type
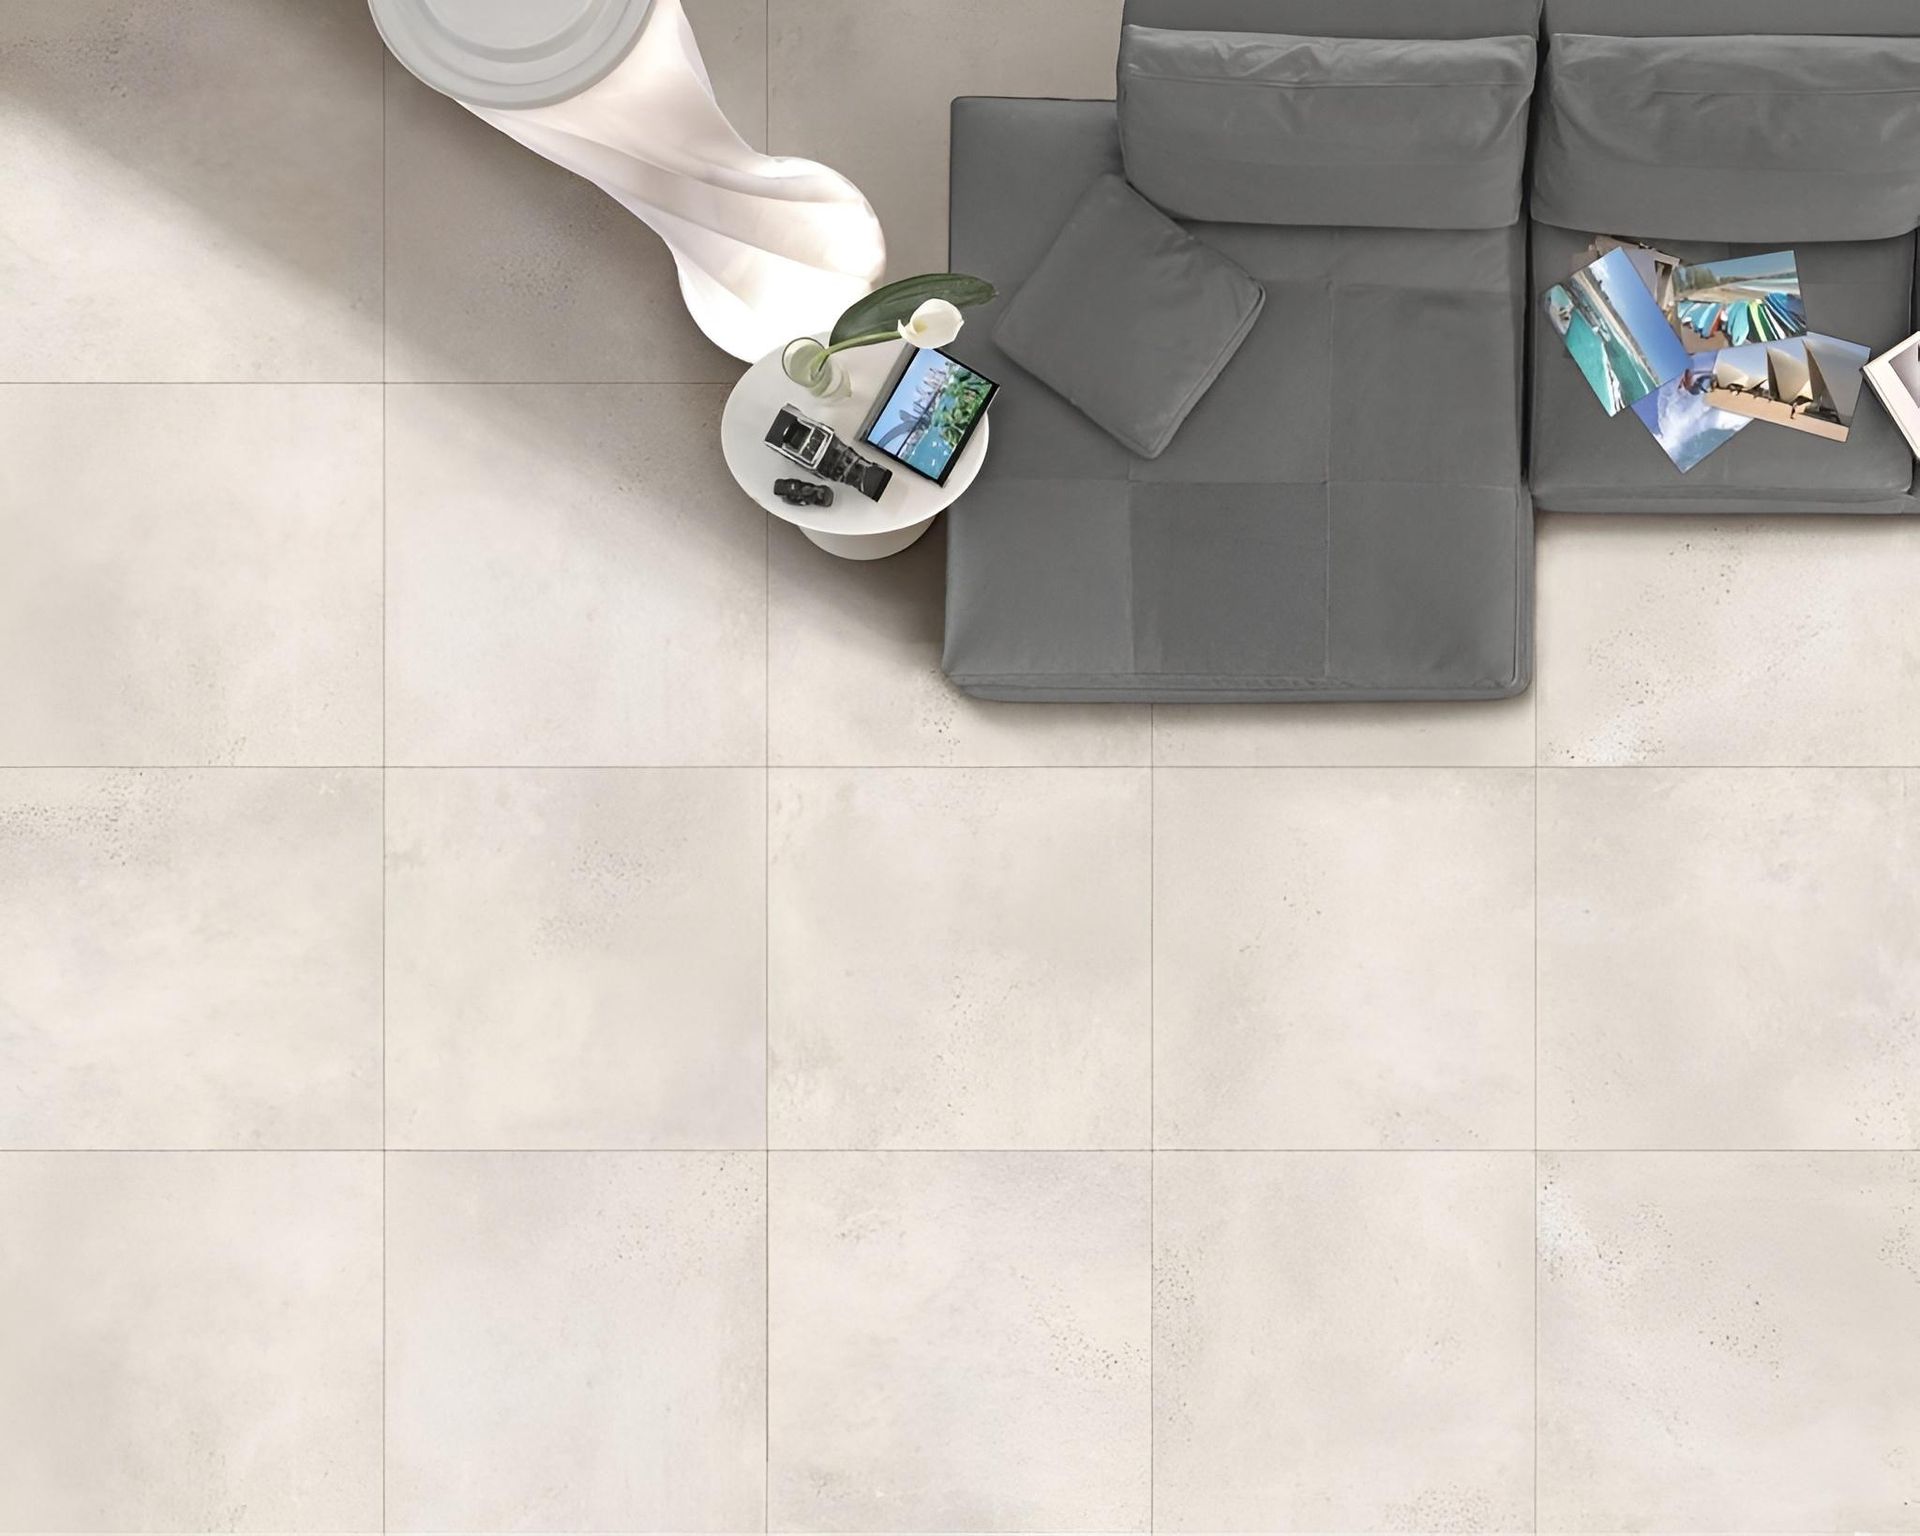
Which Tiles Actually Need Sealing?
Glazed ceramic and porcelain tiles have a factory-applied glaze that makes the tile face largely impervious to staining and moisture. However, even these tiles require grout sealing. Unglazed tiles, natural stone tiles including travertine, marble, slate and sandstone, and terracotta all require both tile and grout sealing. Getting this distinction right before purchasing a sealer saves time and avoids applying product where it will have little effect.
A practical guide to what needs sealing:
- Natural stone tiles always require sealing, as the material is porous regardless of how polished the surface appears
- Unglazed ceramic and terracotta tiles absorb liquid readily and need sealing before use
- Glazed porcelain and ceramic tile faces generally do not require sealing, but the grout lines between them always do
- Outdoor pavers and pool surrounds require sealers specifically formulated for exterior use and UV exposure
When to Seal: Timing Your Application Correctly
Timing the sealing application correctly has a direct effect on how well the sealer bonds and how long it lasts. Sealing too early, before grout has cured fully, traps moisture beneath the sealer and can cause discolouration or adhesion failure. Sealing too late, after the surface has been exposed to foot traffic, cooking or moisture, means contaminants are sealed in rather than sealed out.
Guidelines for getting the timing right:
- Wait a minimum of 48 to 72 hours after grouting before applying sealer, though some grout products require longer curing times
- Check the grout manufacturer's recommendations for the specific curing period before sealing
- Clean the surface thoroughly before sealing to ensure no residue, dust or moisture is present
- For existing tiled surfaces being resealed, a deep clean is essential before the new sealer is applied to ensure proper adhesion
Penetrating vs Topical Sealers: Choosing the Right Type
The choice between a penetrating sealer and a topical sealer depends on the tile material, the location of the surface and the finish you want. Penetrating sealers are absorbed into the substrate and protect from within without altering the surface appearance. Topical sealers sit on top of the surface and can add a gloss, satin or matte finish, but they require more maintenance and can peel or wear if not reapplied regularly.
Factors that guide the choice between sealer types:
- Penetrating sealers are generally preferred for natural stone, as they protect without changing the natural appearance of the material
- Topical sealers can enhance colour and sheen on terracotta and slate, which is sometimes a desirable aesthetic outcome
- High-traffic areas benefit from penetrating sealers that do not wear away at the surface level
- Wet areas such as showers and pool surrounds are usually better suited to penetrating sealers given the continuous moisture exposure
How to Apply Tile Sealer Properly
Application technique affects the outcome as much as product selection does. Applying too much sealer in a single coat leaves excess product on the surface that can dry hazy or streaky. Applying too little means insufficient penetration and reduced protection. Working in manageable sections and following the product instructions closely produces a far more consistent result.
A methodical approach to sealer application:
- Ensure the surface is completely clean and dry before beginning, as any moisture or residue will affect adhesion
- Apply sealer in small sections using a brush, roller or applicator pad suited to the product type
- Work the sealer into the grout lines specifically, as these are the most vulnerable areas
- Wipe away any excess sealer from the tile face before it dries to prevent streaking or hazing
- Apply a second coat once the first has been absorbed, following the manufacturer's drying time guidance between coats
Maintenance After Sealing: Keeping the Protection Working
Sealing is not a permanent fix, and understanding what maintenance looks like after application helps set realistic expectations. The frequency of resealing depends on the tile type, the location, foot traffic levels and the cleaning products used. Harsh chemical cleaners strip sealers faster than pH-neutral products, which is worth considering when building a cleaning routine.
A sensible ongoing maintenance approach includes:
- Use pH-neutral cleaning products on sealed surfaces to avoid degrading the sealer over time
- Avoid abrasive scrubbing pads on natural stone and unglazed tiles, as these can scratch the surface and wear through the sealer
- Reseal grout lines in high-traffic or wet areas every one to two years as a general guide, adjusting based on how the surface responds to a water drop test
- If water no longer beads on the surface and instead absorbs quickly, it is time to reseal
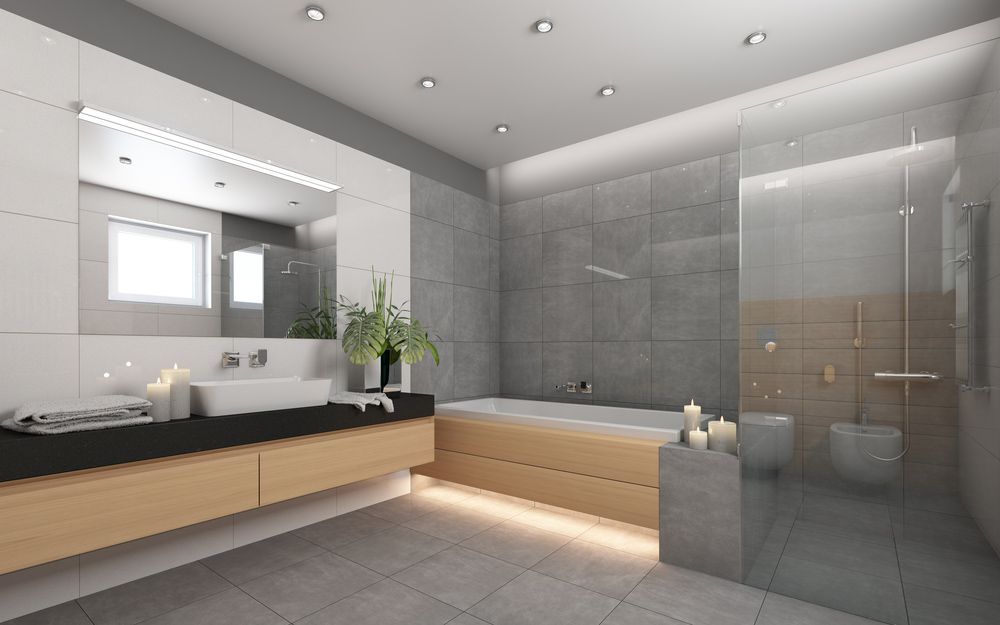
Outdoor Tiles and Humid Climates: Extra Considerations
Outdoor tiled surfaces and tiles in humid environments face a more demanding set of conditions than interior tiles in temperate climates. UV exposure, rain, heat cycling and biological growth from algae and mould all accelerate the degradation of both the tile surface and the sealer. Residents in tropical or coastal regions searching for a tile shop near me need to approach sealing with this in mind and choose products rated for exterior use and sustained moisture exposure.
Additional considerations for outdoor and humid-climate applications:
- Choose sealers with anti-fungal and anti-algae properties for outdoor use in high-humidity areas
- Exterior sealers must be UV-stable to avoid yellowing or breakdown from sun exposure
- Pool surrounds and wet-edge areas require sealers that can handle continuous water contact and pool chemical exposure
- Resealing intervals for outdoor surfaces in humid climates are typically shorter than for interior applications
Talk to Our Team Before Your Next Tiling Project
We at Northern Tiles carry a range of sealers and tile care products suited to the demands of Darwin's climate and the specific tile types we stock. Whether you are tiling a bathroom, an outdoor entertaining area or a commercial space, the right sealer makes a genuine difference to how the finished surface holds up over time. Visit our tile shop in Darwin to speak with our team about which products suit your project, or browse our range online. We are happy to walk you through the options and help you get the long-term performance you are looking for from your tiled surfaces. Get in touch with our team to discuss your next project.